Sections
Dashboard viewingVisualization CreatingShare dashboardHome pageActivity historyDashboard editingBuilderDASHBOARD VIEWING
Builder - visualization constructor on Datawiz BI service
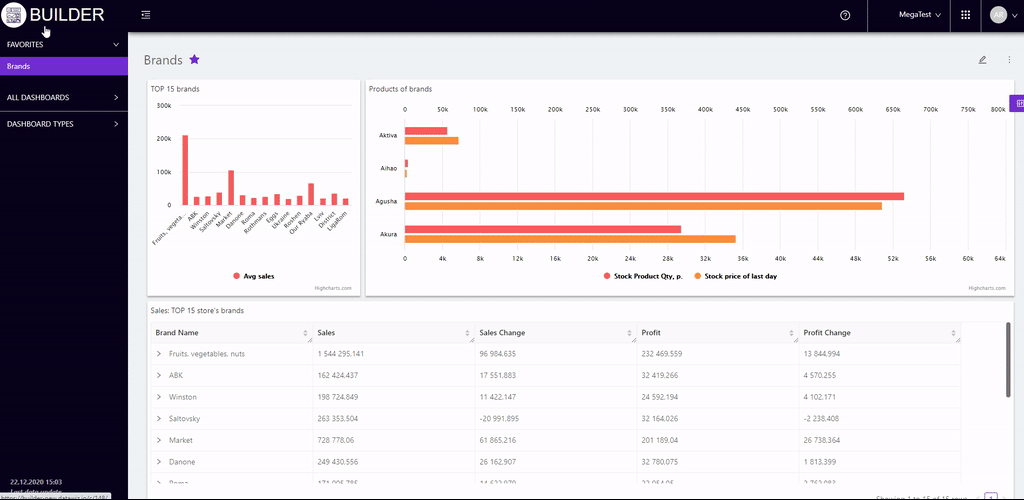
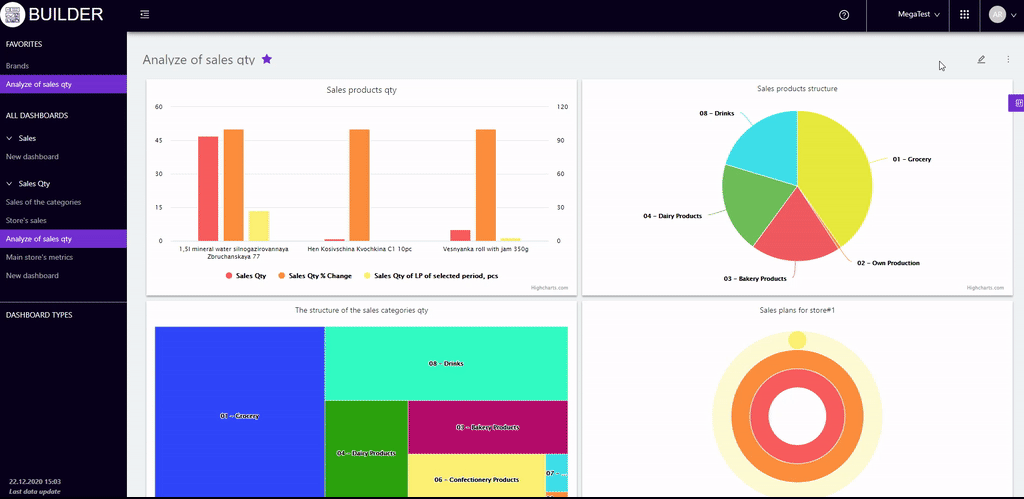
To open the dashboard for viewing just click on its name in the list of dashboards in the left panel.
When you log in the first dashboard in the group is displayed by default "Favorites" (marked with an asterisk).
You can make a dashboard a favorite in one of the ways:
- click the asterisk next to the name of the dashboard open for viewing;
- click on three dots button (next to the name of the dashboard) in the list on the left panel and select in the modal window "Add to favorites".
In the upper right corner of the visualization page in the menu you can choose:
- Download to PNG - saves the visualisation in png format.
-
Sort - allows to select an indicator and sort direction: descending or ascending. After that, the visualisation will be reproduced according to the selected sorting options.
Dashboard editing.
In the upper right corner of the page a modal window opens in which you can choose: - "Copy dashboard" - creates a copy of the dashboard with the same name and the word "copy" in parentheses.
- "Share dashboard" allows you to share the dashboard with users (roles) or send links to it.
-
"Move to group" allows you to move the dashboard to another group that is selected from the list.
- "Activity History" - opens a table showing who, when and from where viewed the dashboard.
- "Delete dashboard" - removes the dashboard.
Note! When viewing a dashboard, you can save the table to an xls file.
Below is the button which opens the filter panel:
- Period - allows to select the period of time for analysis.
- Previous period - allows to select the period of time with which the selected period will be compared.
- Brands - allows to select the desired brands in the proposed list on which visualization will be filtered.
- Categories - allows to filter the visualization by selected categories.
- Products - allows to filter visualization by the products selected from the list.
- Stores - selects the data of stores on which the visualization will be filtered.
- Suppliers - selects the data of suppliers on which visualization will be filtered.
- Manufacturers - allows you to filter the visualisation by the manufacturers selected from the list.
- Assortment types - allows you to select the required assortment types in the list, by which the visualisation will be filtered.
- Category managers - allows you to select the required category managers in the list, by which the visualisation will be filtered.
- Receipt indicators - allows you to filter the visualisation by check labels (sales characteristics) selected from the list.
- Markers - allows you to filter the visualisation by products included in the selected marker.
- Types of customers - allows you to filter the visualisation by the purchases made by the selected group of loyalty programme customers.
Note! The sequence and number of filters will depend on the activated filters on the Dashboard page editing.
